Epoxy Resin Magnets
Epoxy resin magnets for your fridge or whiteboard are a quick and easy project for beginners and advanced users. As always, you can decide which colours, motifs and effects you want to cast – nothing is impossible with EPODEX.
In this article we will show you how to make resin magnets and what you need!
You need:
- EPODEX ECO-system
- Nitrile gloves
- Mixing cups
- Stir stick
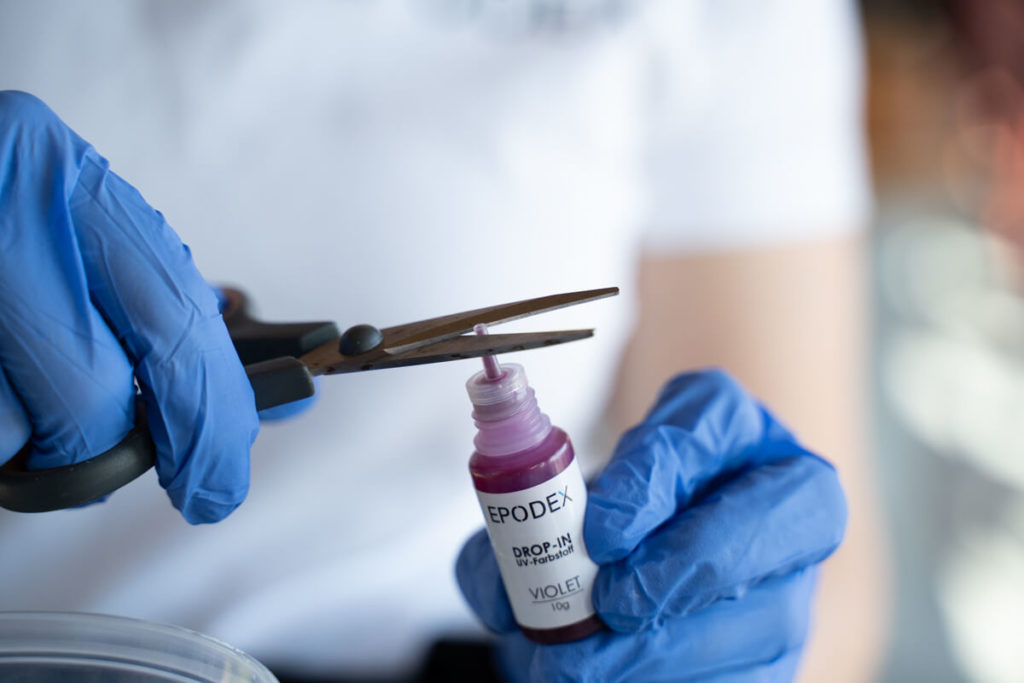
- Different EPODEX Drop-In colour pigments of your choice
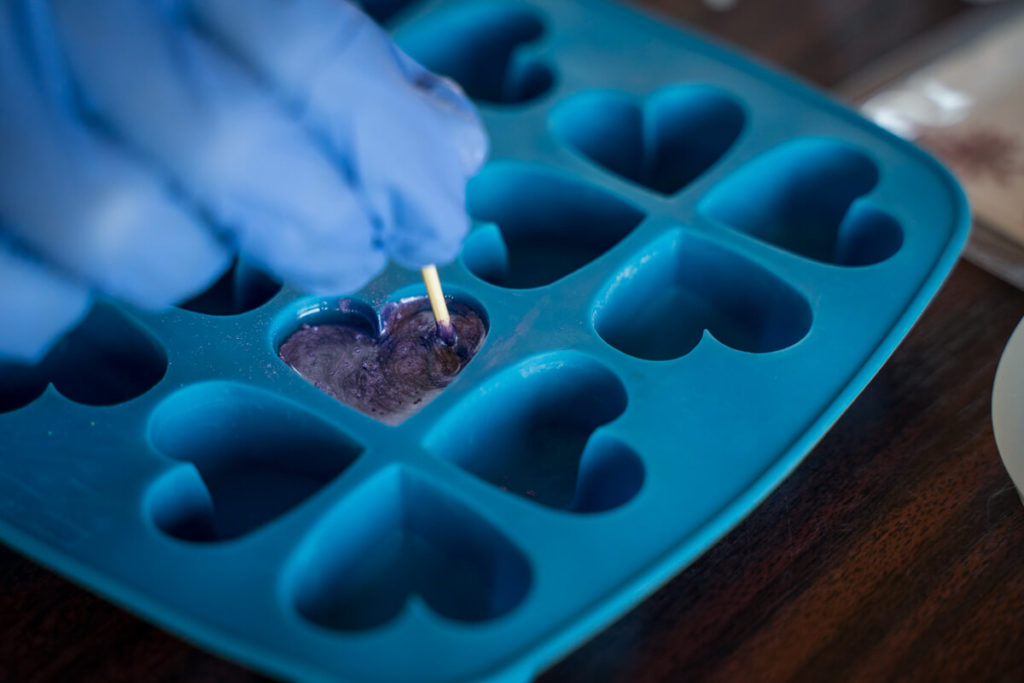
- Silicone mould for ice cubes
- Dried flowers, glitter
- Kitchen scales
- EPODEX Polish
- Toothpick
- Superglue
- Magnets that are smaller than your ice cube mould

Casting resin magnets – this is how it works:
Preparation:
Have all materials ready. Note that you should work at room temperature and the humidity should not exceed 70%. All materials and tools should also be at room temperature.
Step 1: Put on the disposable gloves and mix our EPODEX ECO system according to the instructions in a ratio of 2:1. Stir well until no more streaks are visible.
Step 2: Pour the resin in portions into separate containers, for example mixing cups. Stir the resin again thoroughly after repotting.
Step 3: Pour half of the resin into another container and mix it with pigments as desired. Here you can decide how many drops or powder you want to add according to the desired colour intensity. Stir the colours evenly into the epoxy resin with a stirrer. All our colours can be mixed together – so you can achieve very individual colour results! If you want to embed objects, work layer by layer and let the resin gel before you put something into the mould. Coarse glitter can also be mixed directly into the transparent resin with a toothpick and then put it into the mould. Simply fill the silicone moulds according to your taste.
Tip: If you like it more colourful, you can also use the ECO system to pour several thinner layers up to 1 cm and create a colour gradient by adding 3 drops of one colour in the first layer, 2 in the second and 1 in the third. Then work wet-on-wet, which means not waiting the 12 hours until the next layer, but only 4-6 hours to create a more beautiful, flowing transition.
Step 4: After 24 hours at the earliest, you can remove the epoxy resin magnets from the mould. Check beforehand whether the resin has already hardened completely, otherwise it can still deform during moulding.
Step 5: With transparent castings the use of silicone moulds can cause streaks at the edges. You can polish these away with EPODEX polishing paste and a microfibre cloth in circular movements.
Step 6: Now attach the magnets to the back of the cured resin piece using glue, for example superglue. When the glue has dried, you can use the magnets.