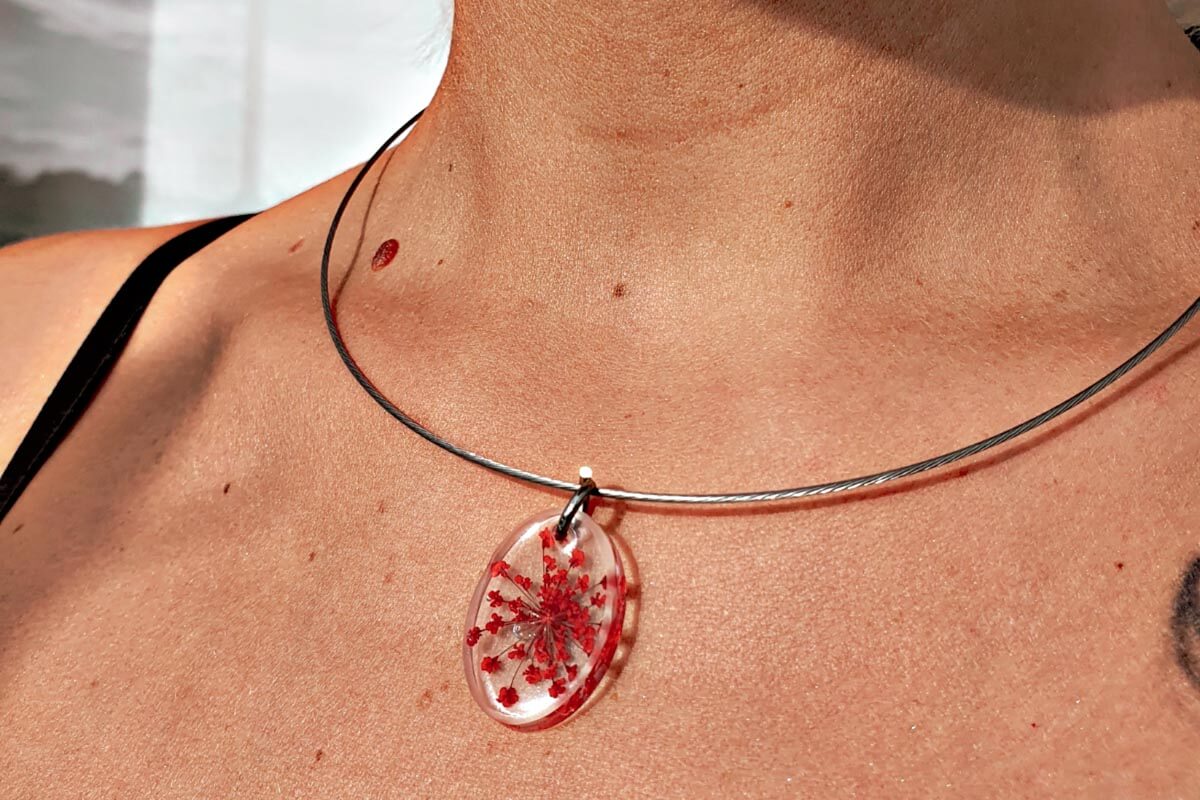
Make your own necklace with resin
You can make your own epoxy resin chains using a suitable silicone mould and our EPODEX resin. The chain is perfect as a special gift for your family and friends. Since epoxy resin jewellery is becoming more and more popular, we explain in this tutorial how to make a necklace and what is needed for it. Let’s go!
You need:
- EPODEX PRO system
- Nitrile gloves
- Mixing cup
- Stir stick
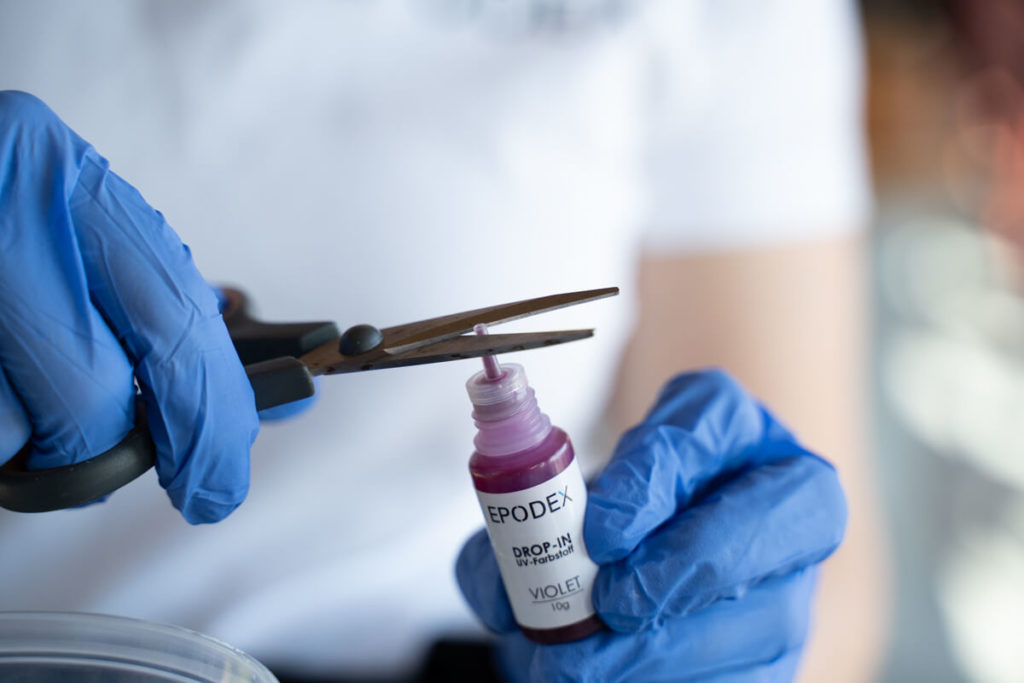
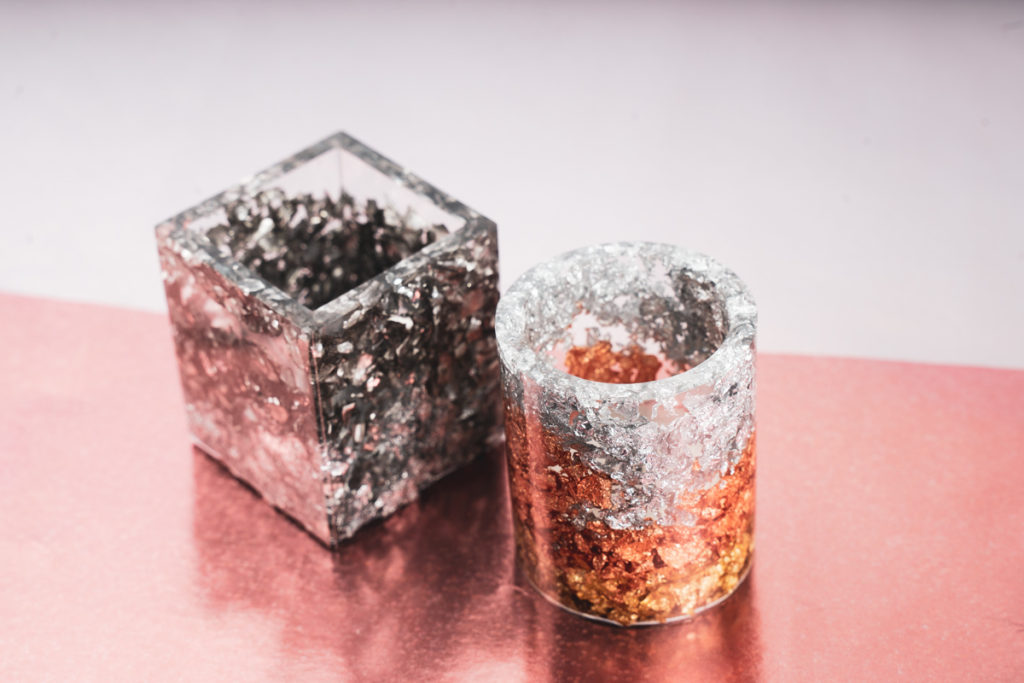
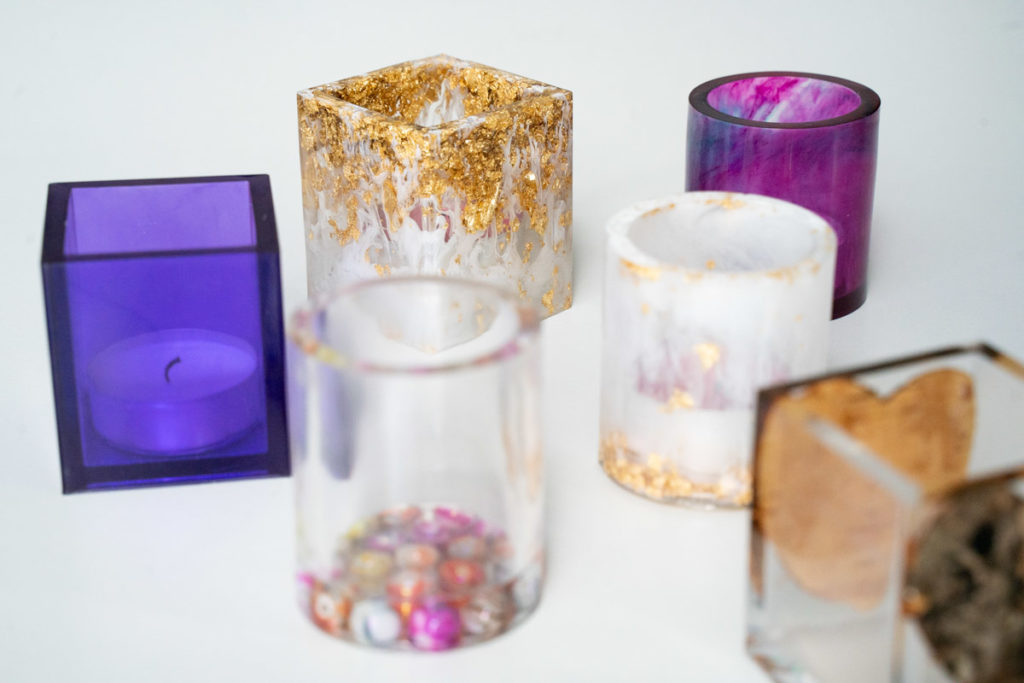
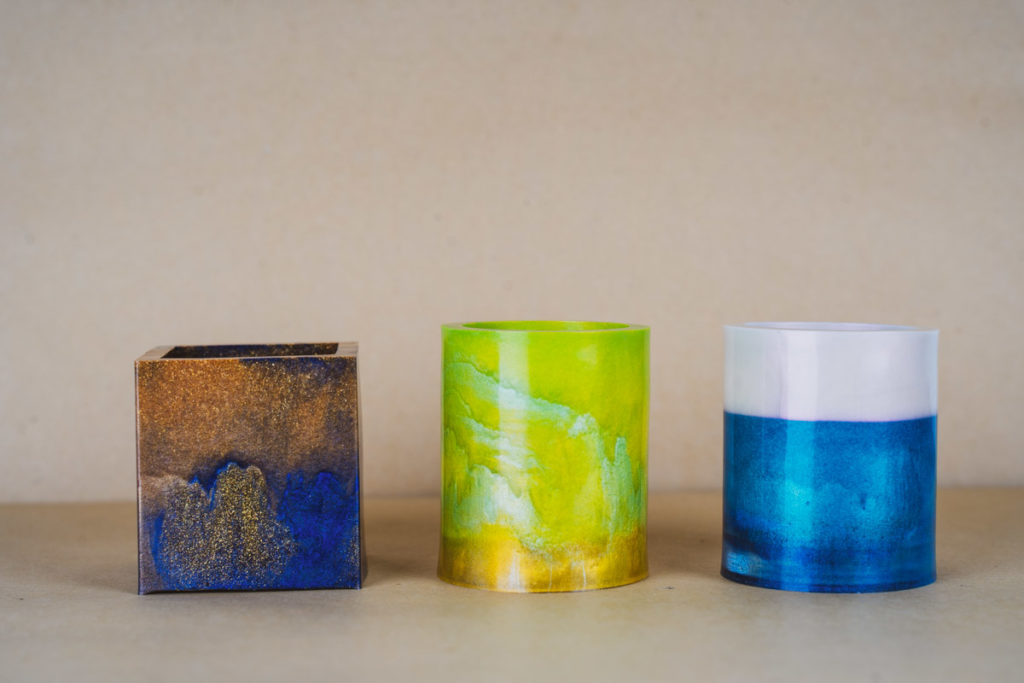
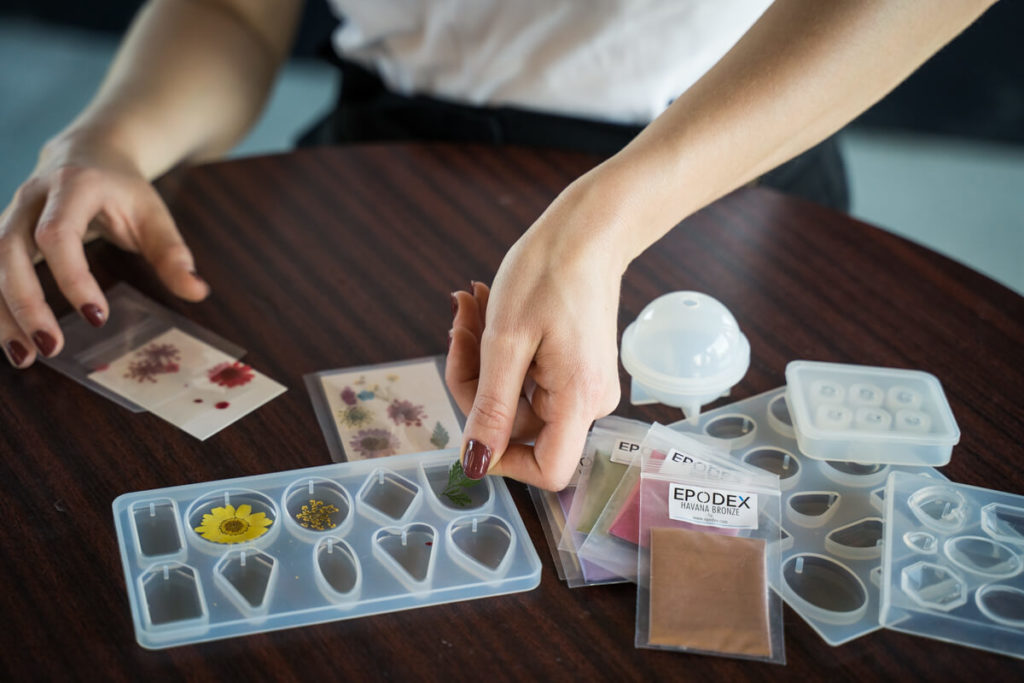
- Different EPODEX Drop-In colour pigments of your choice
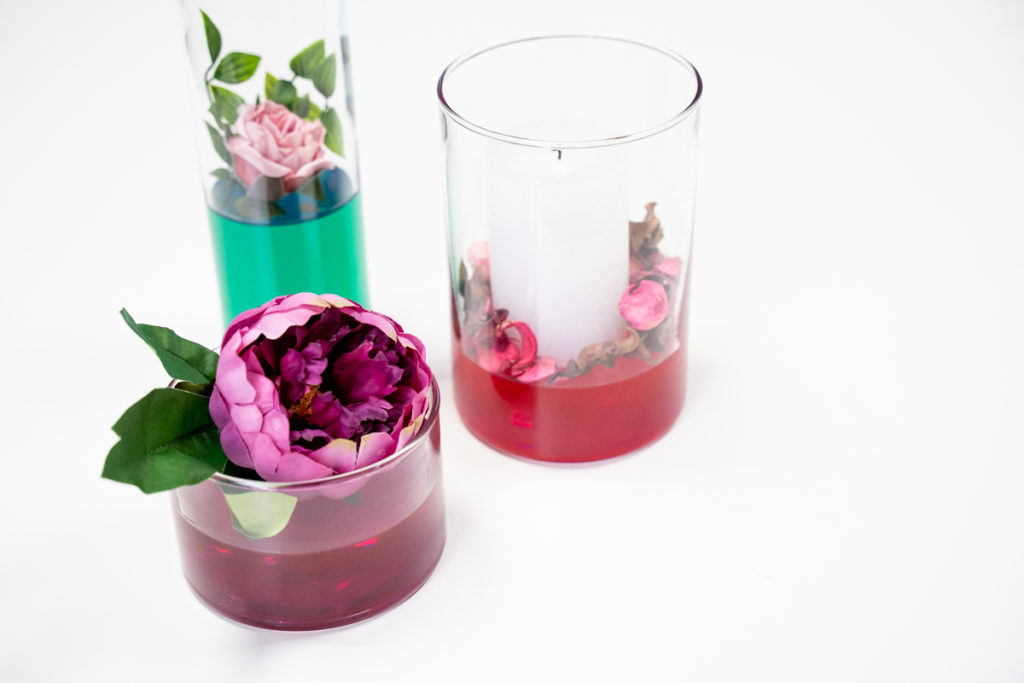
- Scattered decoration, glitter, dried flowers etc.
- Chain with eyelet
- Pliers
- Kitchen scales
- EPODEX Polish
Resin chain necklace – this is how it works:
Preparation: Have all materials ready. Note that you should work at room temperature and the humidity should not exceed 70%. All materials and tools should also be at room temperature.
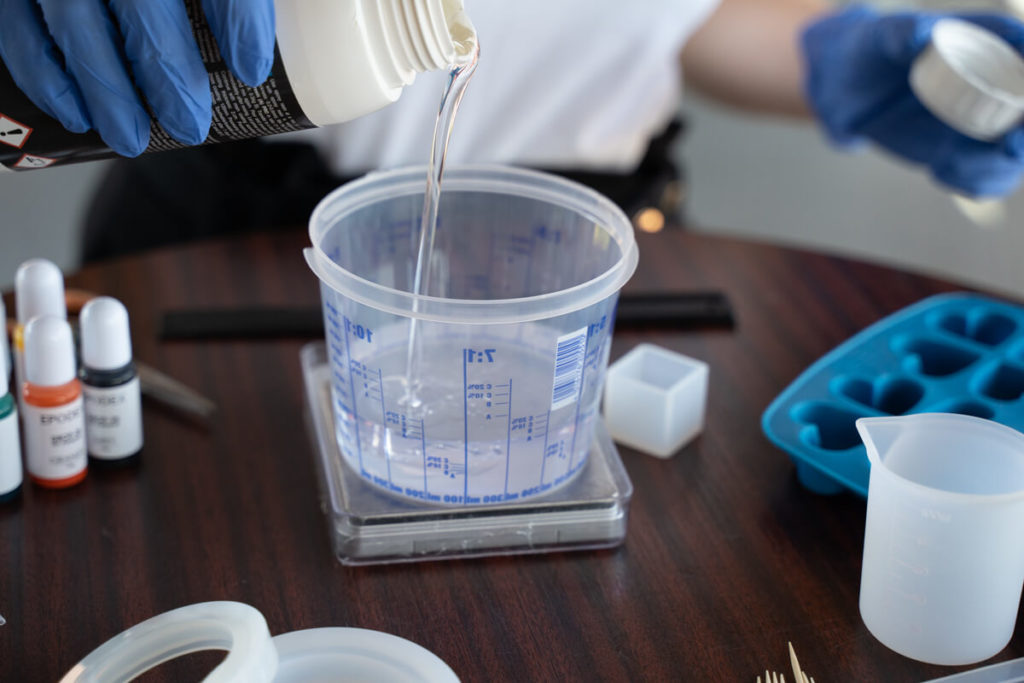
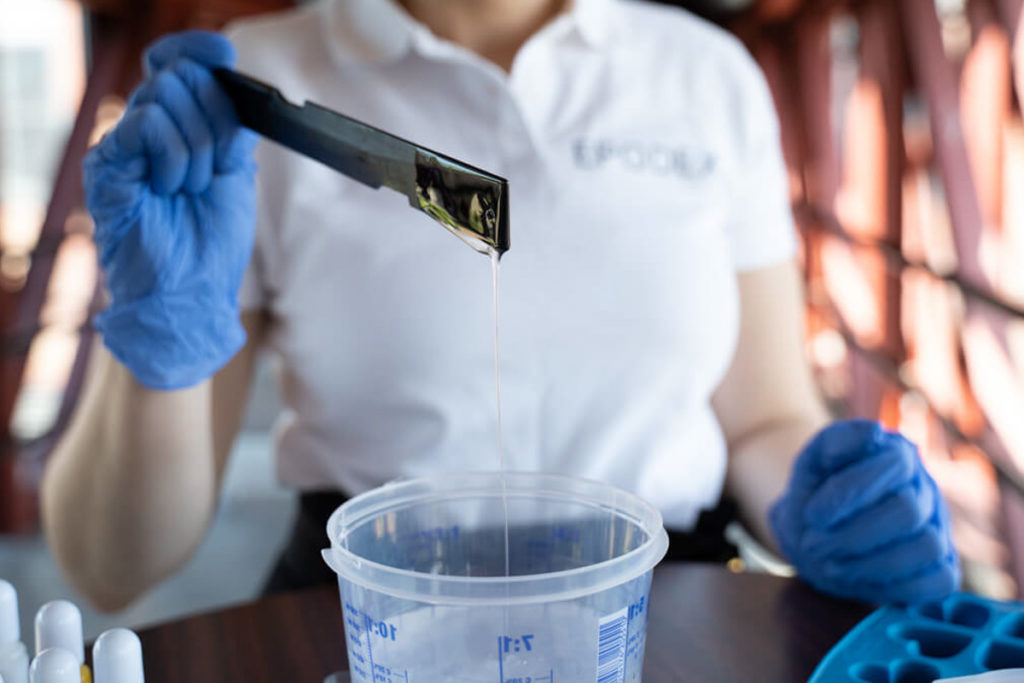
Step 1: Put on the disposable gloves and mix our EPODEX PRO system according to the instructions in a ratio of 2:1. Stir well until no more streaks are visible.
Step 2: Pour the finished resin into a mixing cup. Stir the resin again thoroughly after repotting.
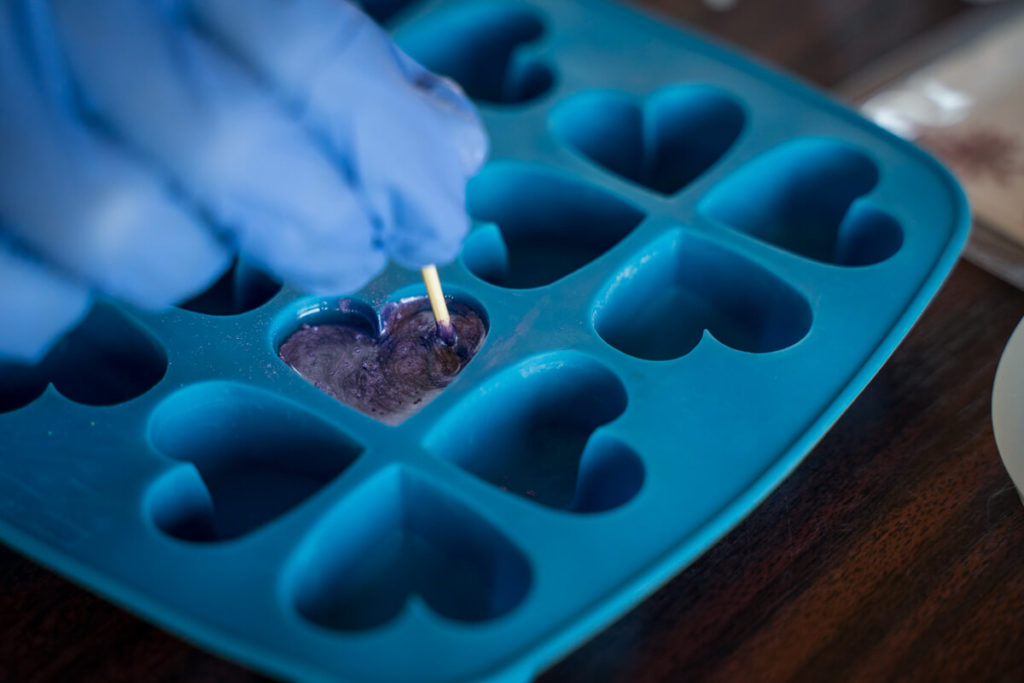
Step 3: Now pour the clear resin into the silicone mould.
Step 4: Now you can place the glitter particles, flowers or pigments in the resin according to your taste.
Step 5: After 24 hours the resin has hardened and you can take the pendant out of the mould.
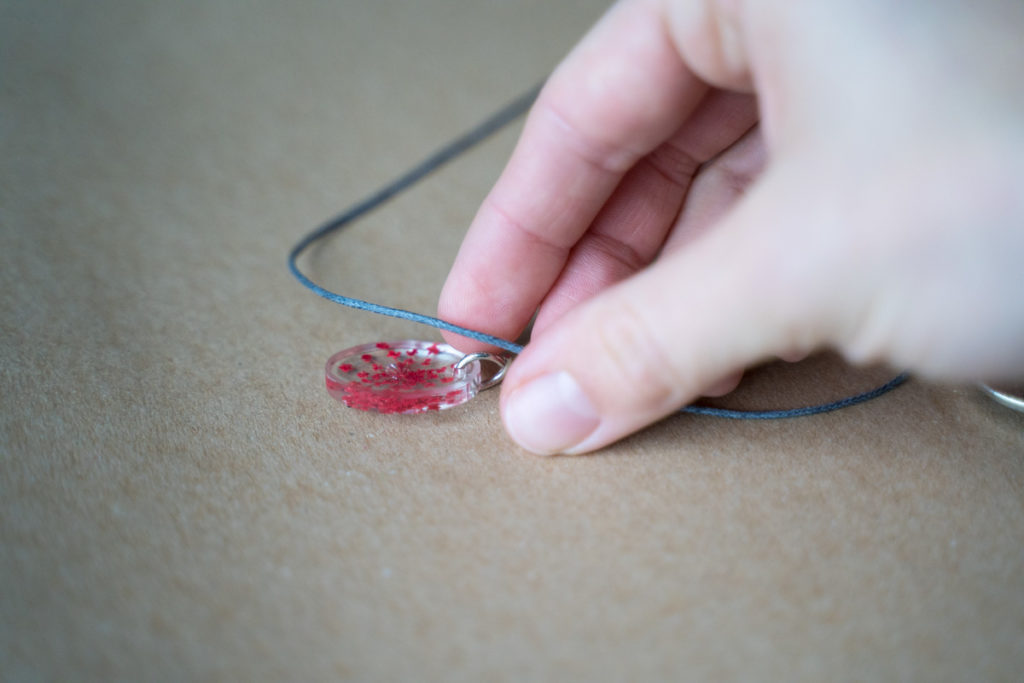
Step 6: Now the eyelet must be bent open with pliers. Then you can hang up the pendant.
Step 7: Now the pendant is ready and can be pulled onto the chain.
Step 8: If the silicone mould has left streaks, you can polish them away with EPODEX polishing paste and a microfibre cloth.

TOP ratings
- Als Epoxidharz-Neulinge waren wir im ein oder anderen Punkt unsicher. Das Team von Epodex hilft mit Geduld, Freundlichkeit und perfekter Fachkompetenz weiter. Absulute Empfehlung, top Service, super Lieferzeiten!!! 22.08.2019
- Bin rund um zufrieden, sehr gute Produkte und besonders kundenfreundliche und schnelle Lieferung! Werde bei Epodex auf jeden Fall wieder einkaufen! 23.08.2019
- Guten Tag! Ich würde EPODEX auf jeden Fall weiterempfehlen da es von der Bestellung bis zur Lieferung nur 3 Tage gedauert hat und auch die Bestellung war super einfach und problemlos. Und ich werde auch weiterhin bei Ihnen bestellen. 14.08.2019