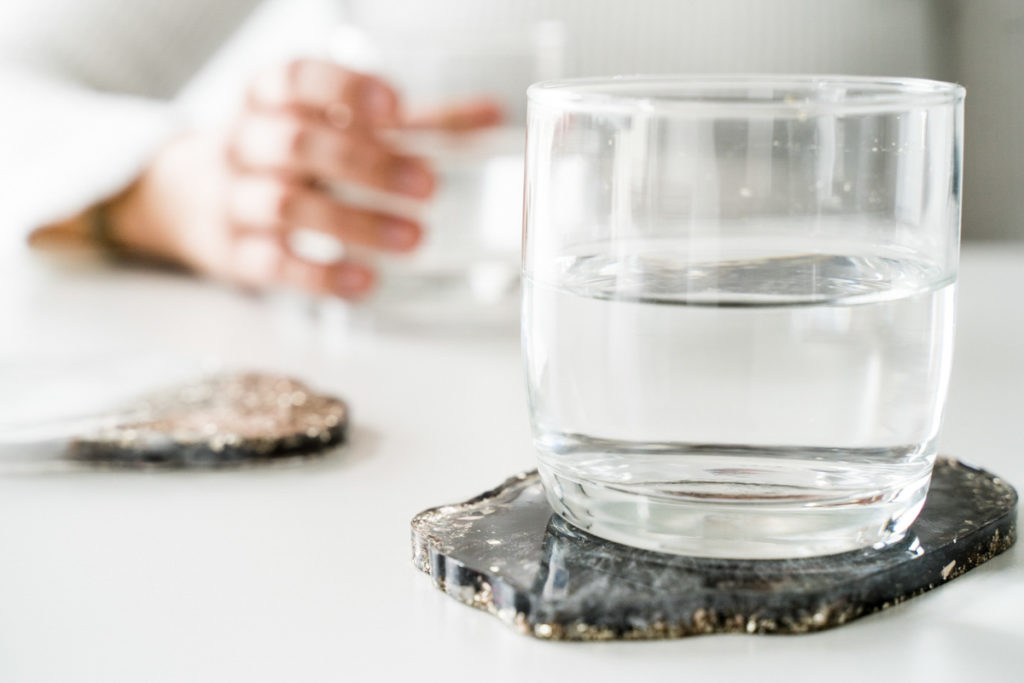
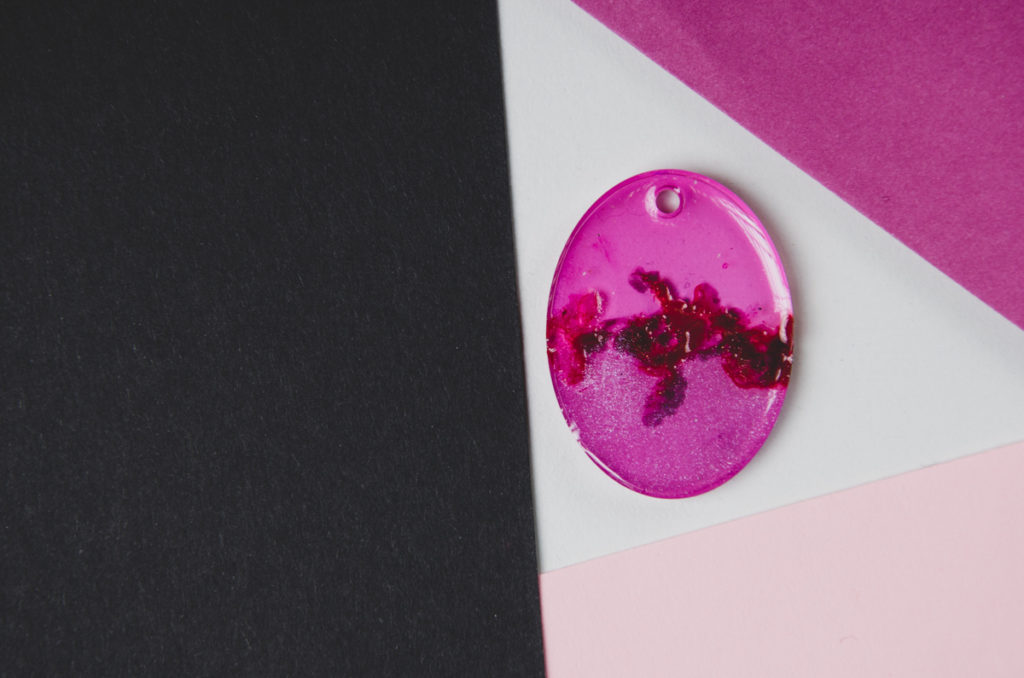
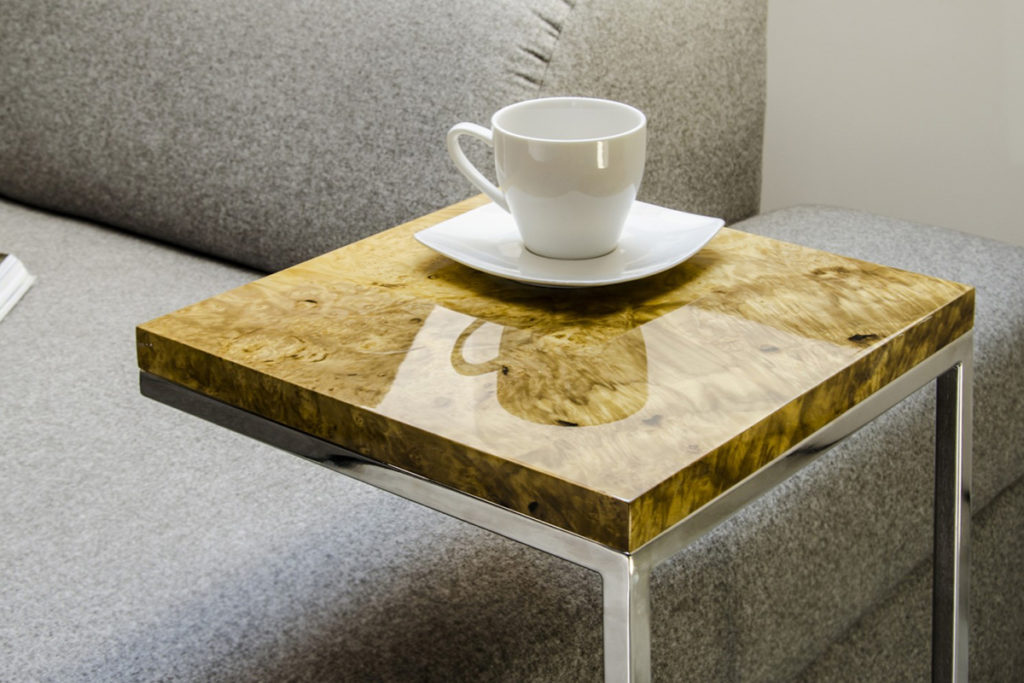
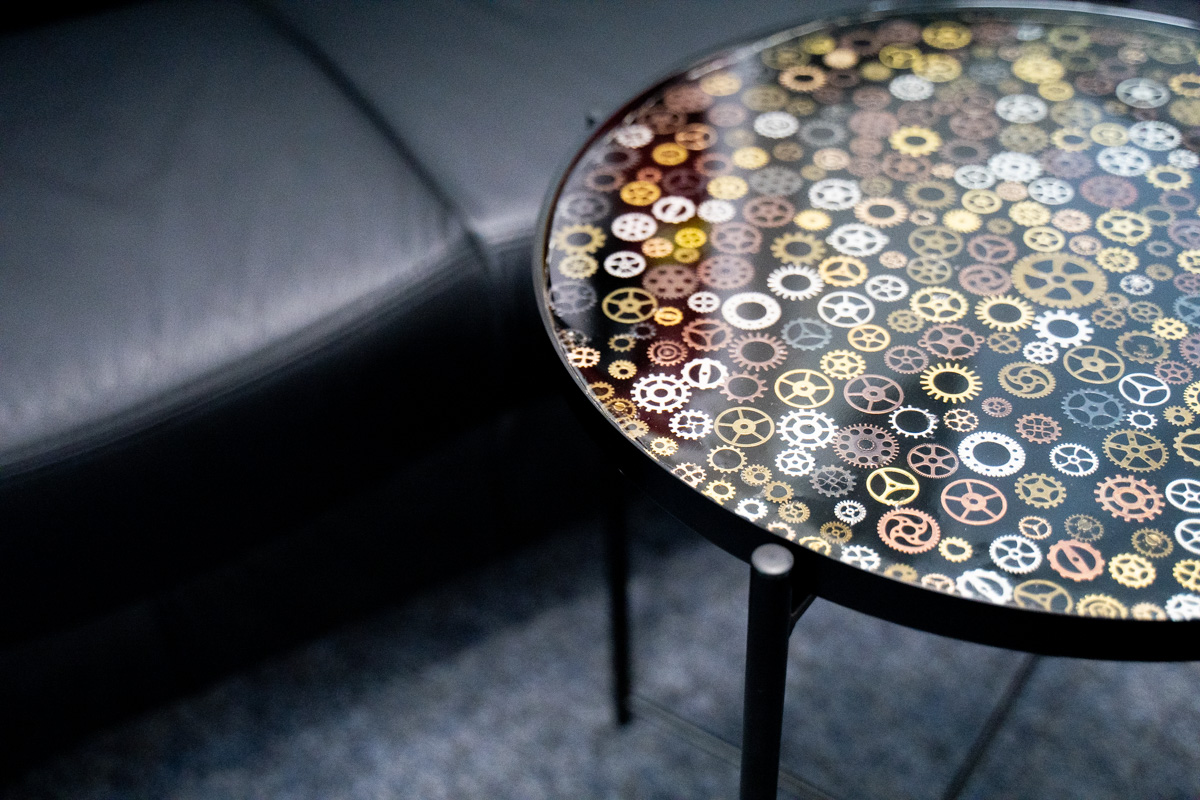
Resin Coaster Geode DIY
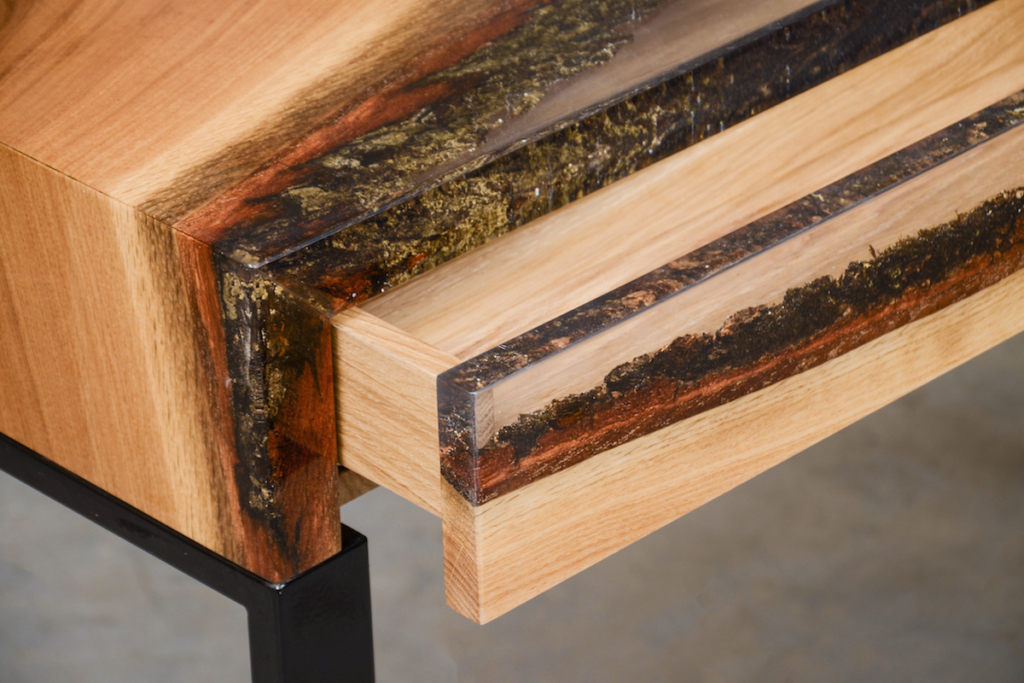
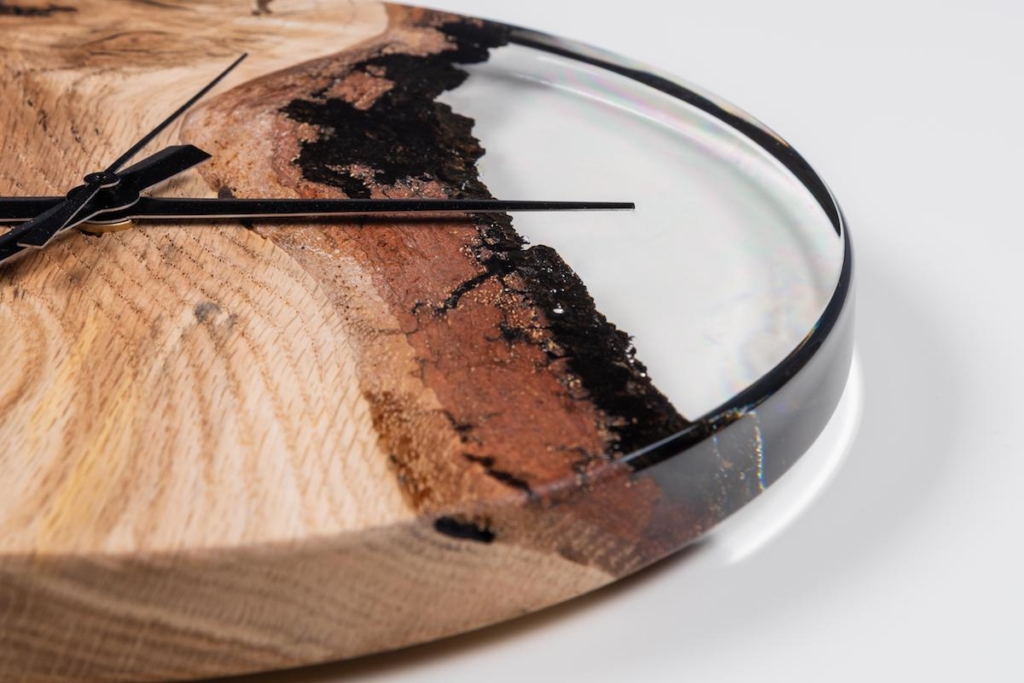
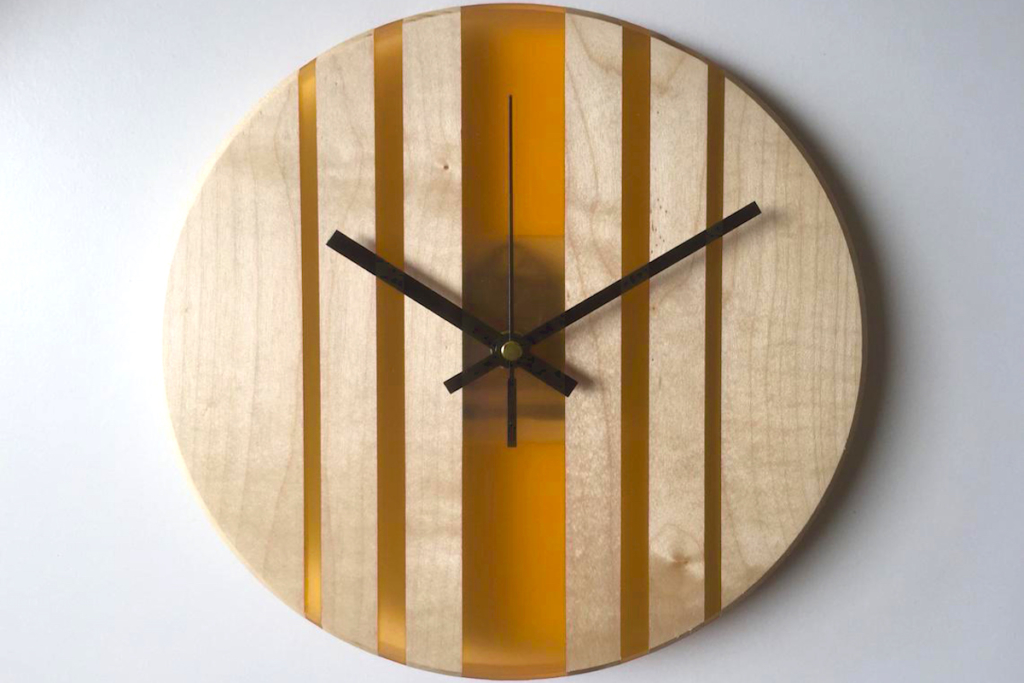
Geodes are a work of art of nature – these special minerals are mostly found in volcanic lava rocks. But you can imitate the unique and impressive appearance of geodes yourself with epoxy resin. In this article we will show you step by step how you can create individual coasters, for example for glasses, yourself with our EPODEX products. With these resin coasters you can conjure up a special accessory or a gift for your loved ones in no time at all. What are you waiting for?
You need this:
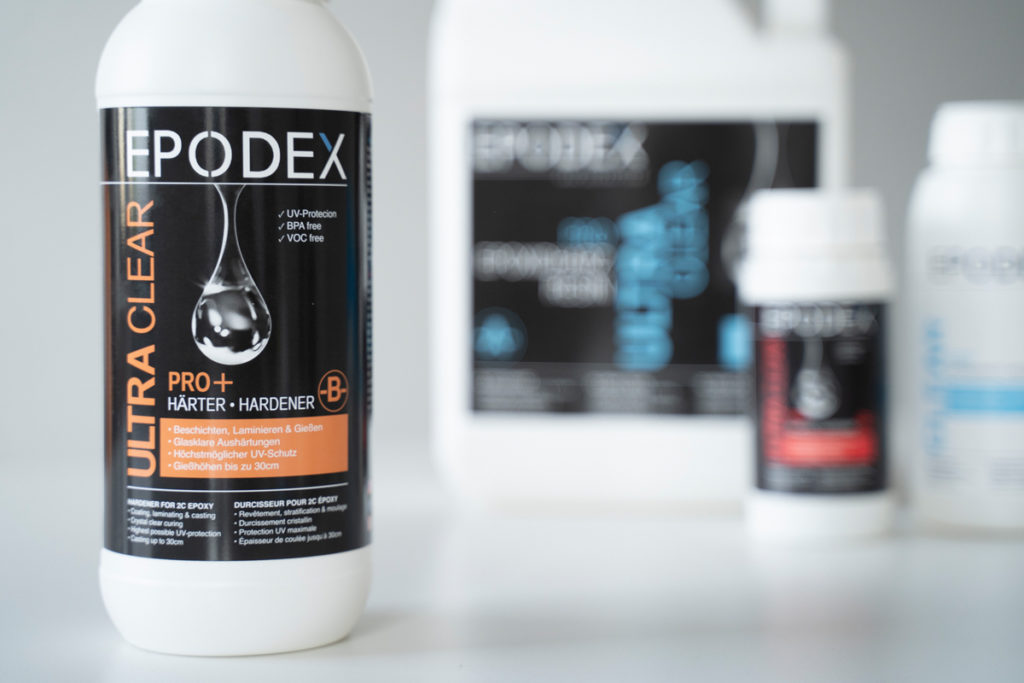
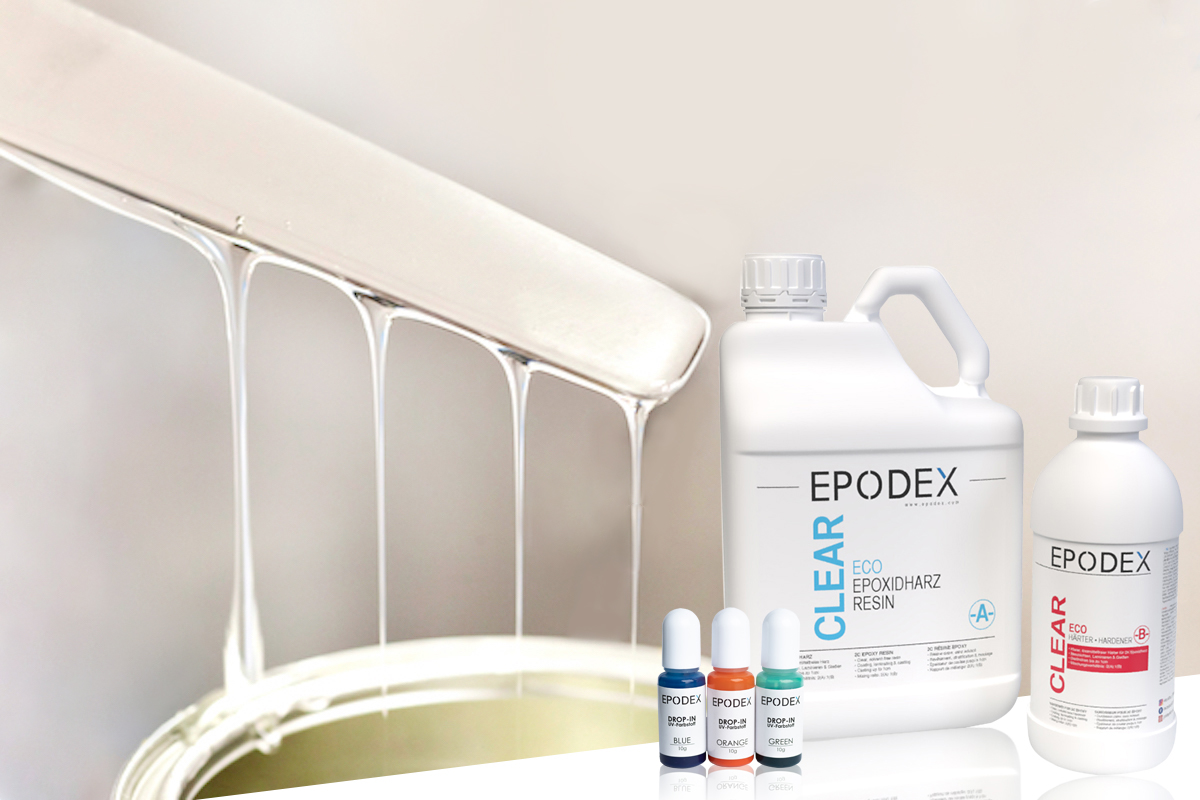
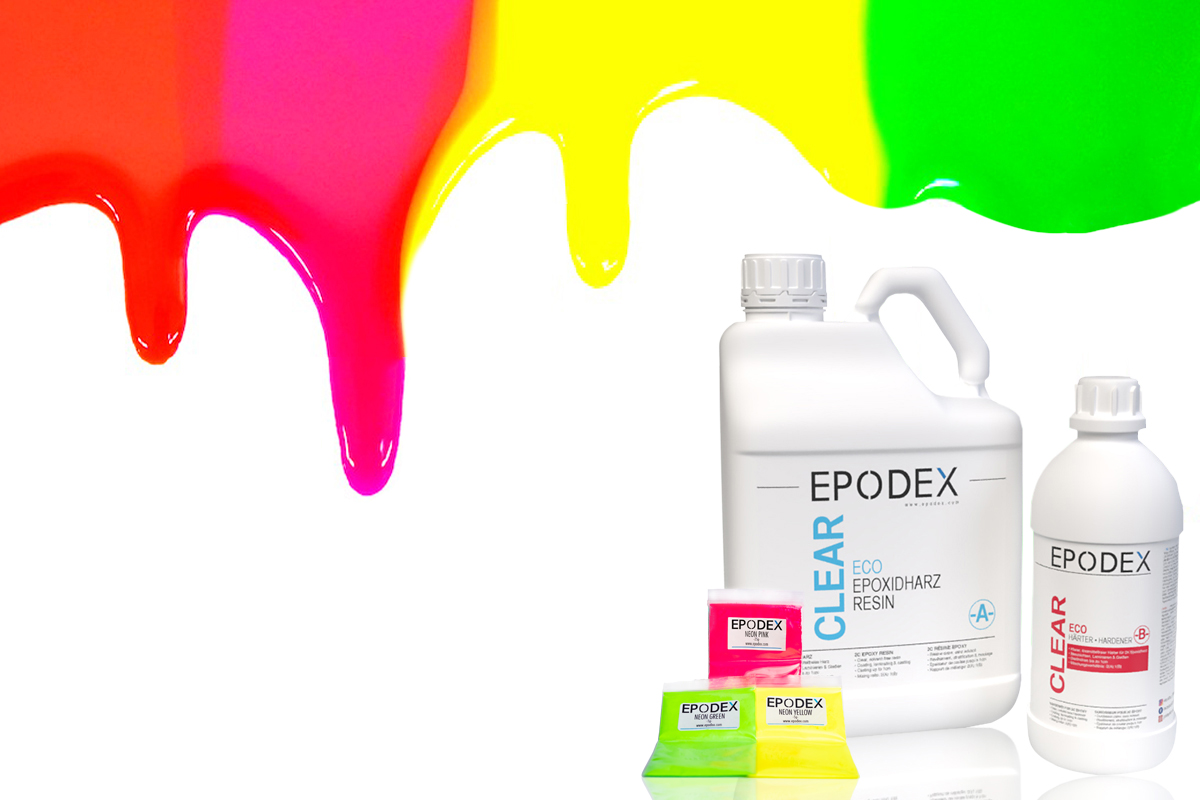
- EPODEX PRO epoxy resin system
- geode forms made of silicone or sanitary silicone, one cartridge and one glass plate
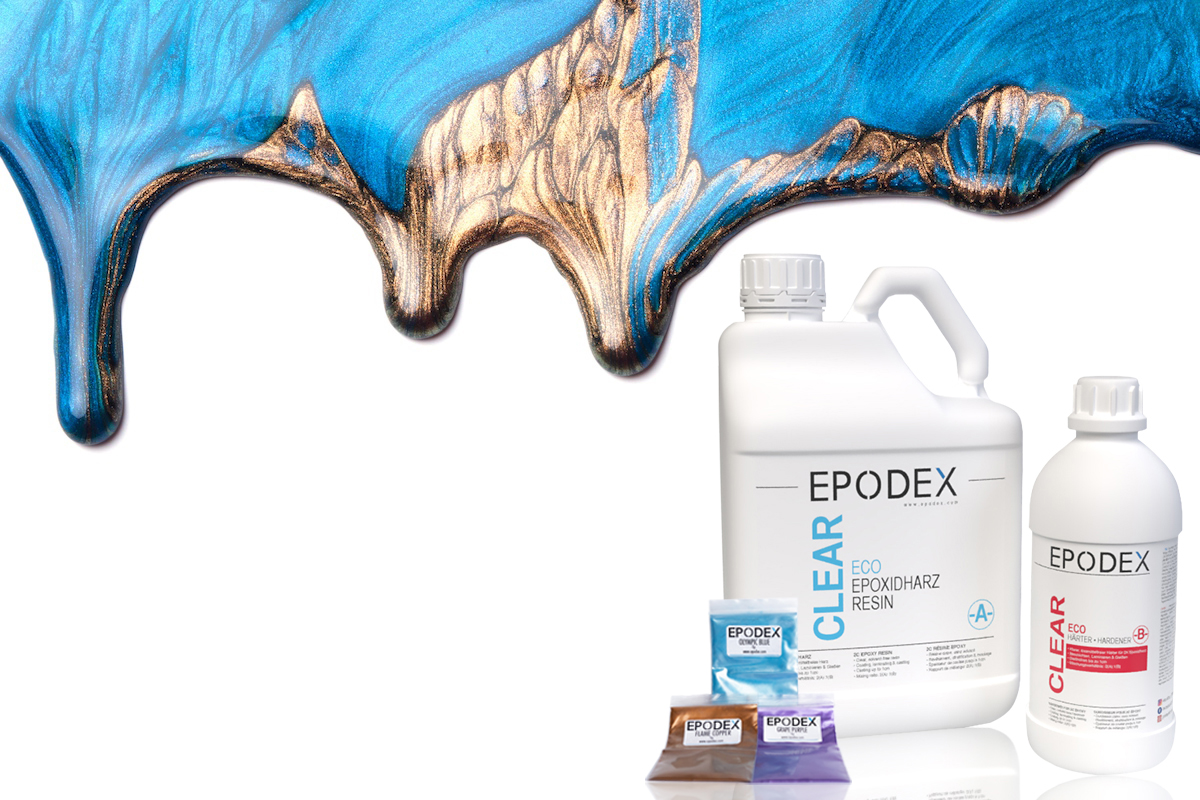
- Transparent color concentrates
- Colour pigments in neon or metallic
- Nitrile gloves
- Stir stick
- Mixing cups
optional:
- Glitter or other small deco elements
- Acrylic colour pencils for the edges
Resin Coaster – how you do it:
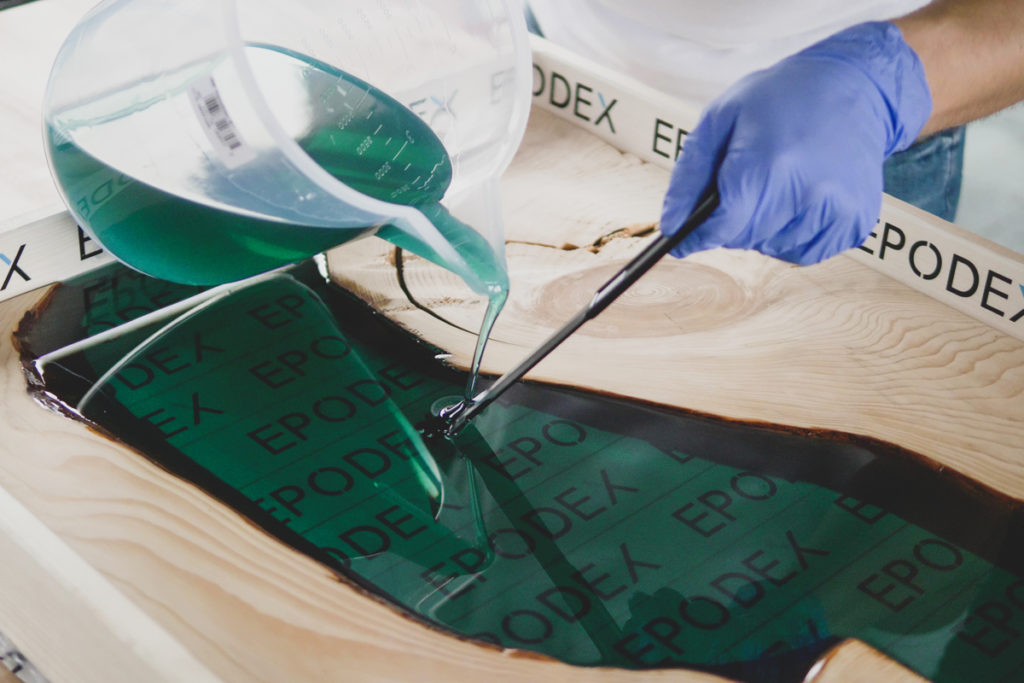
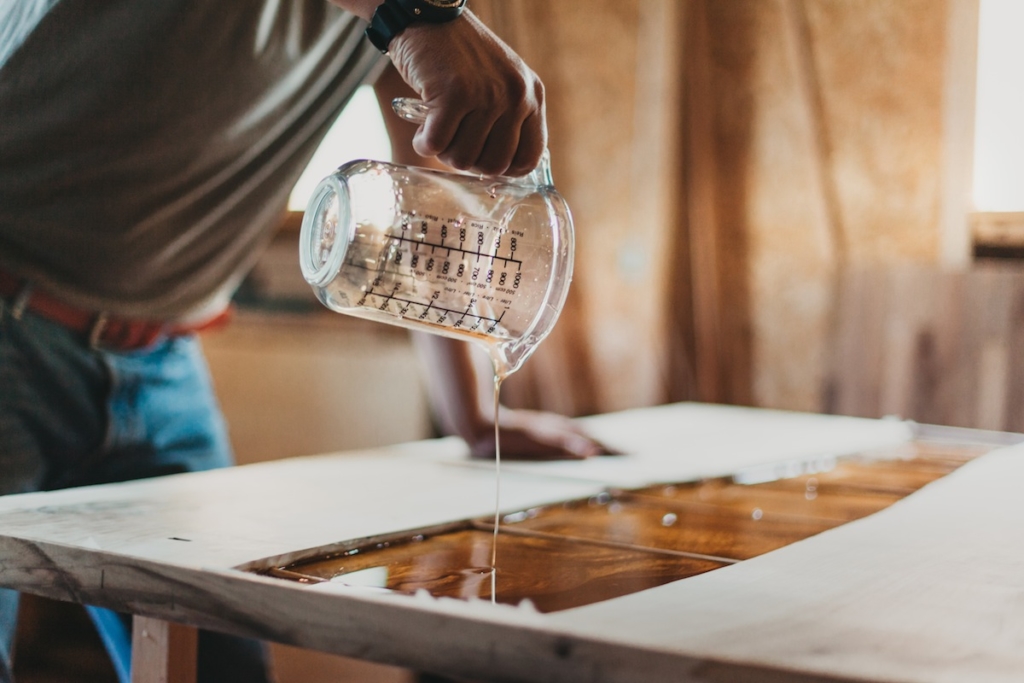
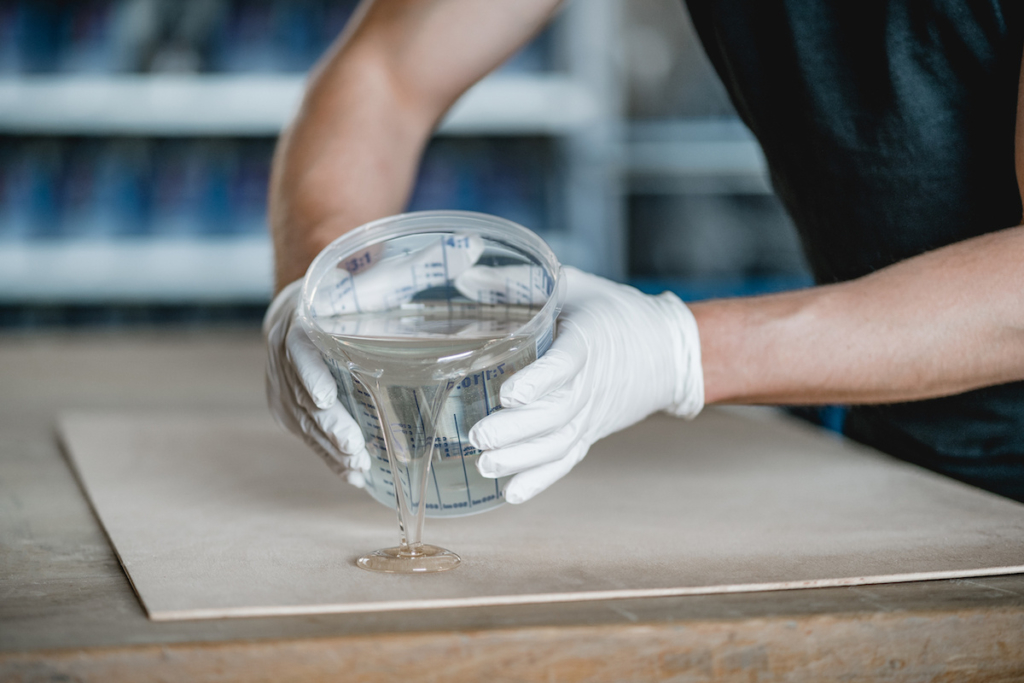
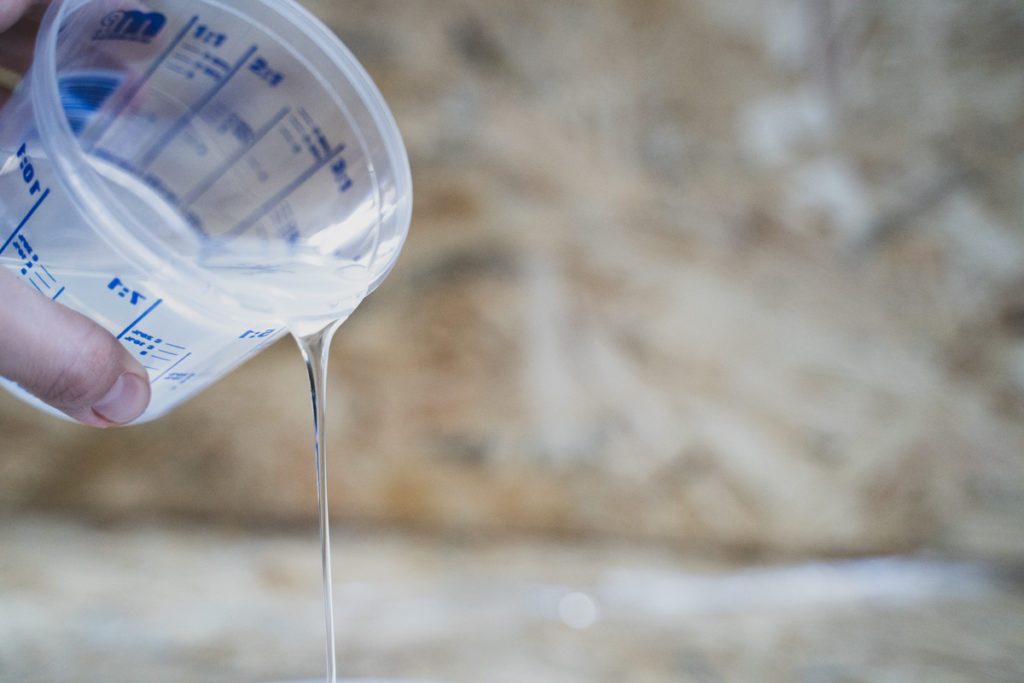
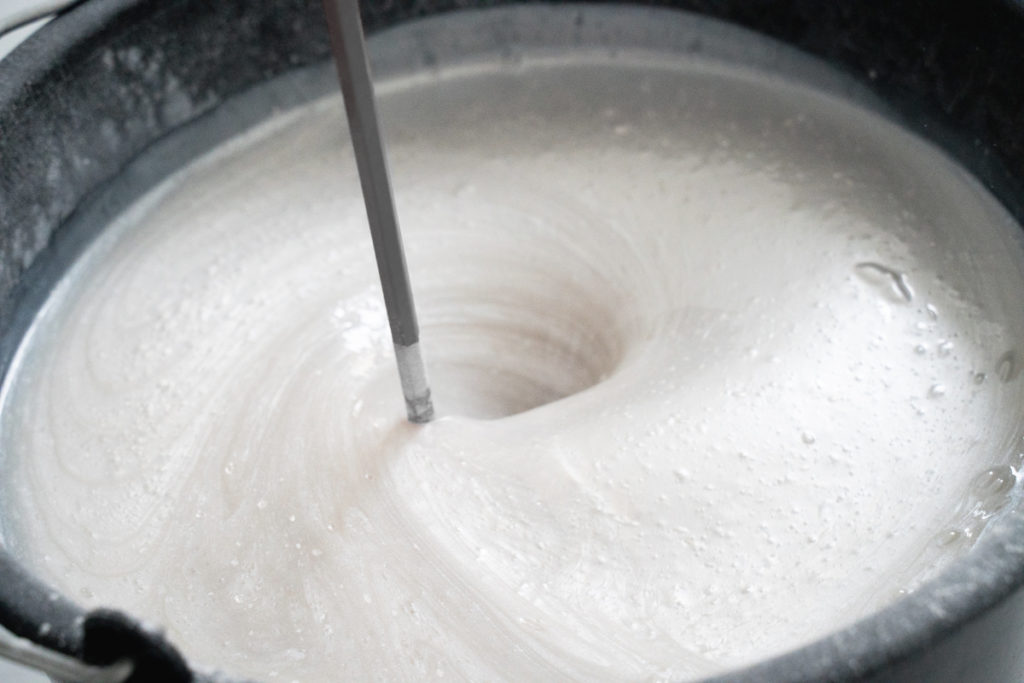
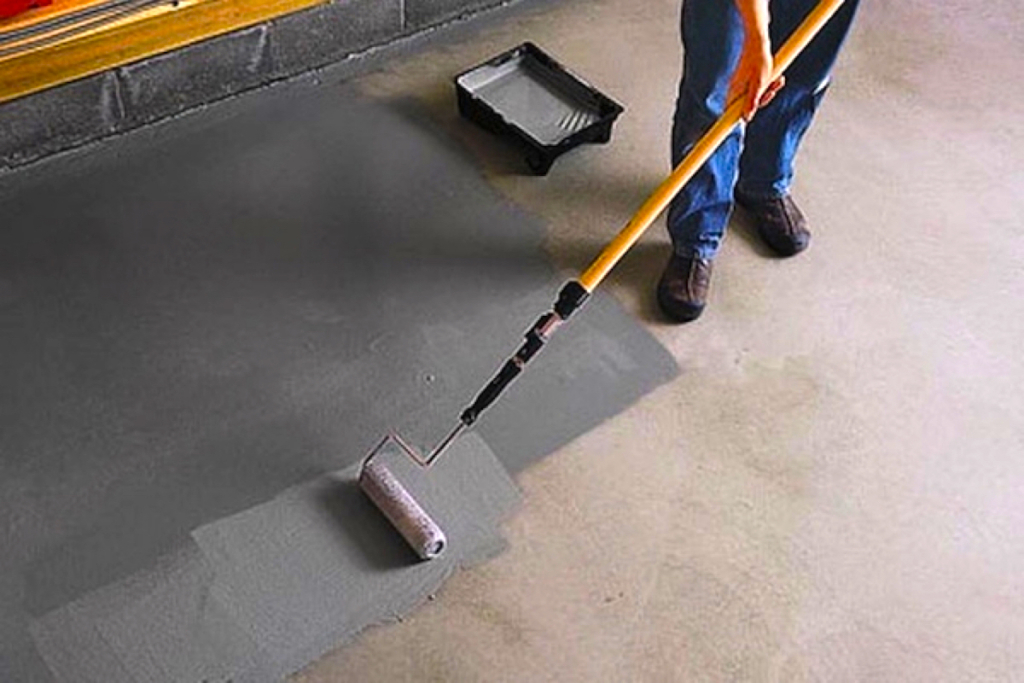
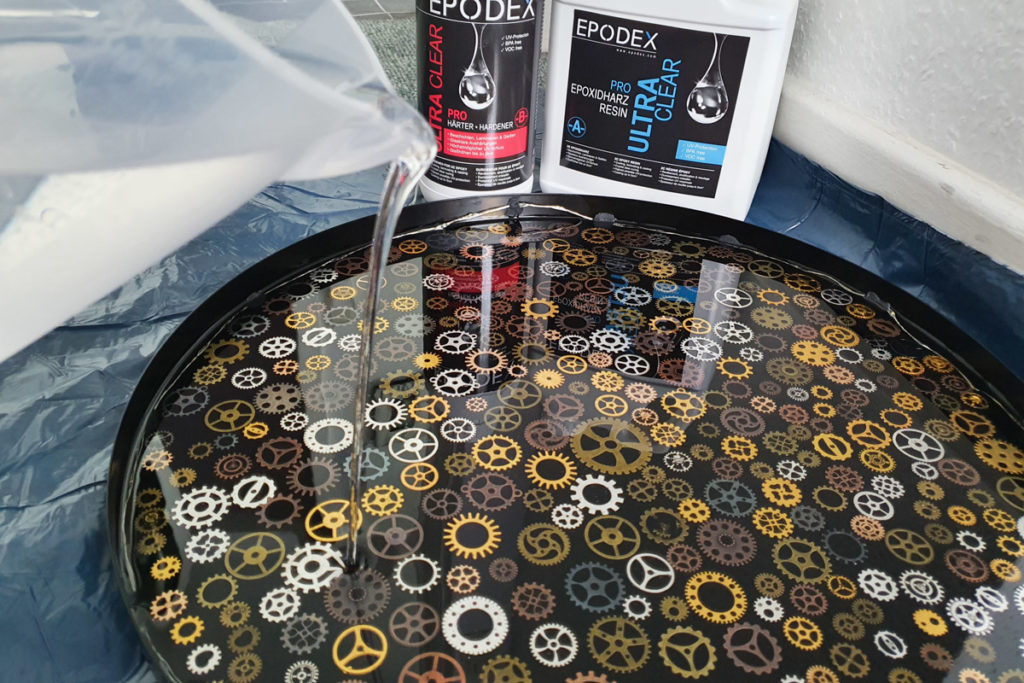
- Mix our EPODEX PRO system according to the instructions in a ratio of 2:1, stirring well until no more streaks are visible.
- Pour the finished resin into a separate container. Stir the resin again thoroughly after repotting.
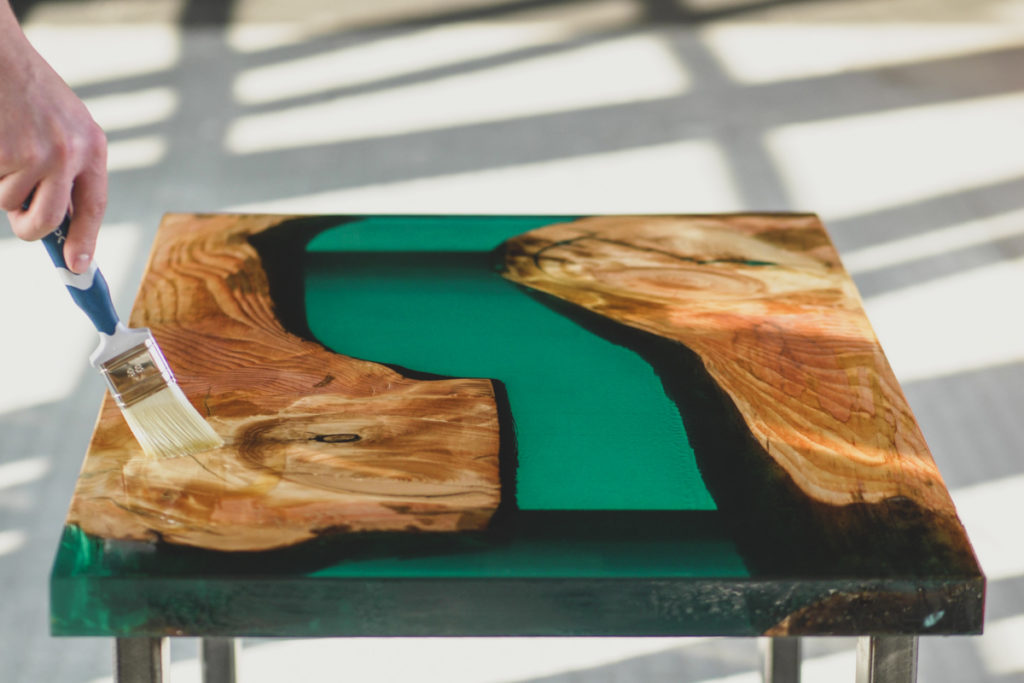
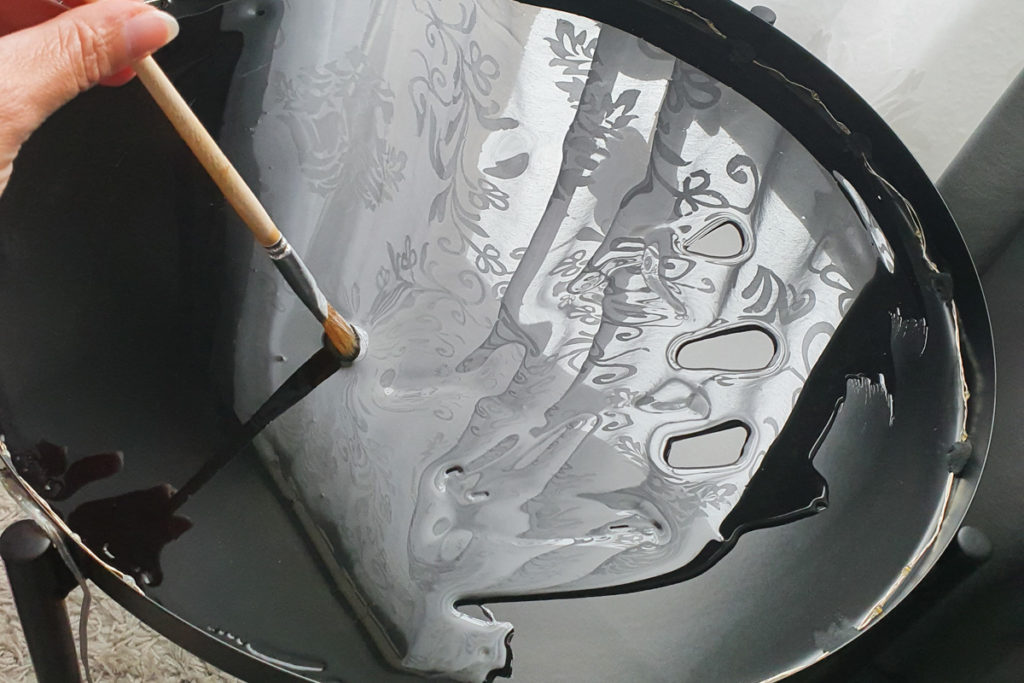
- Now use a resin suitable coaster geode mould made of silicone. Alternatively you can „draw“ a free form of sanitary silicone on a glass base. Pay attention to an appropriate pouring height here.
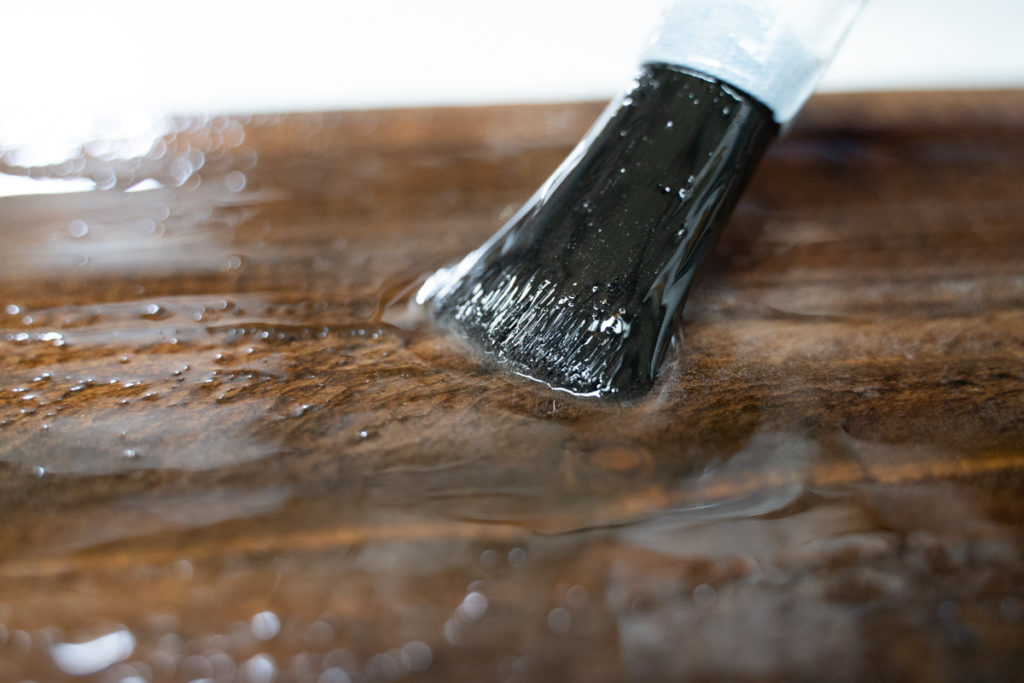
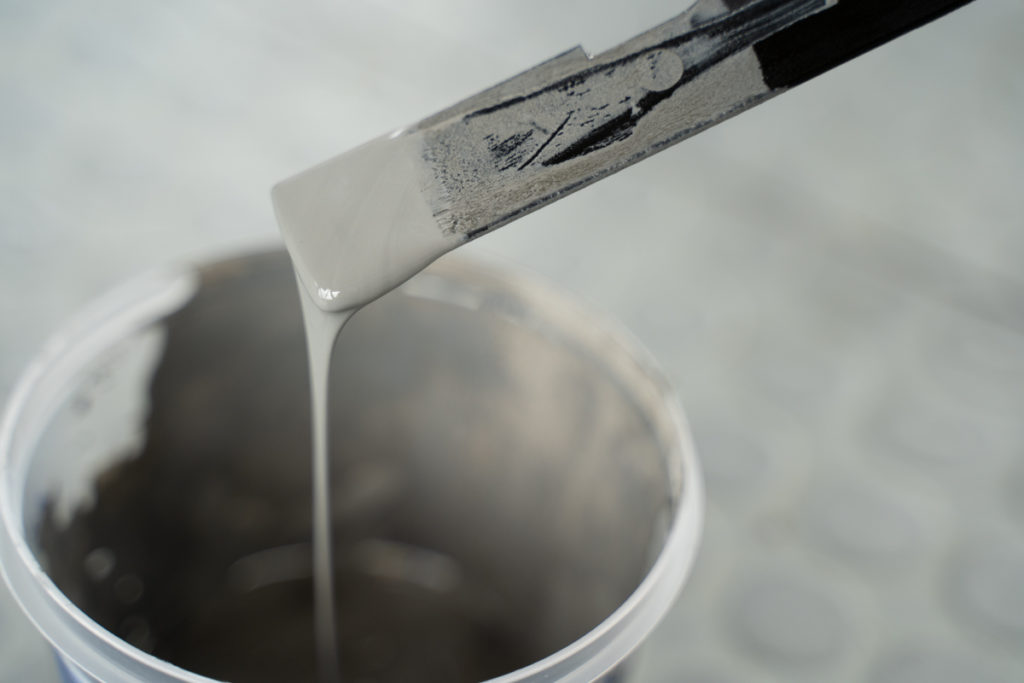
For a transparent result, pour some resin to just below the edge of the mould. Distribute the remaining epoxy resin to different mixing containers. Mix the resin portions with paint and with metallic pigments according to your wishes (for pigments: 1.5 – 2g per kg resin and hardener). - Now wait about 10 – 15 minutes until the mass has reached a higher viscosity, i.e. is more viscous. You can test this with a rod sample. A higher viscosity means that the colours do not run into each other as much.
- Into the transparent geode forms you can drop in our transparent colours and work them in with a toothpick. For a „cloud effect“ you stir less than for a completely transparent result. Here your wishes and your creativity are in demand!
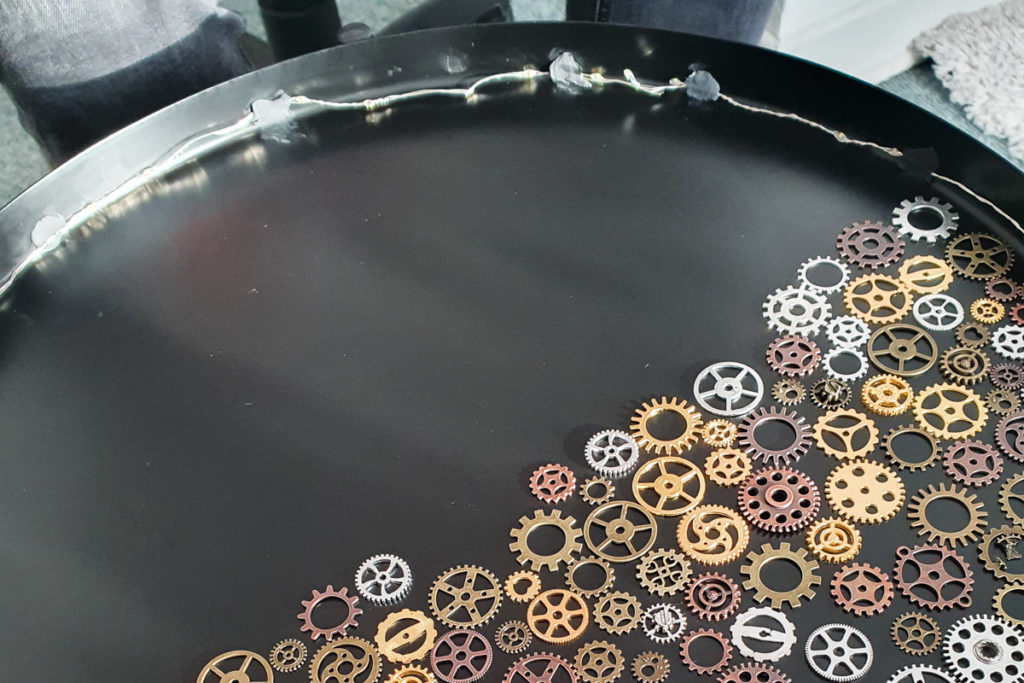
Tip: Depending on the shape of the silicone, scratches may appear on the floor. If you scratch with a toothpick, avoid touching the floor. - After the base layer is gelled, you continue with the processing of the coloured resin. To do this, pour the contents of the cups, starting from the middle and continuing to pour into the middle, so that the colour poured in displaces the previous layer to the outside. You can pour from both sides simultaneously until it meets in the middle – again, there are no limits to your imagination.
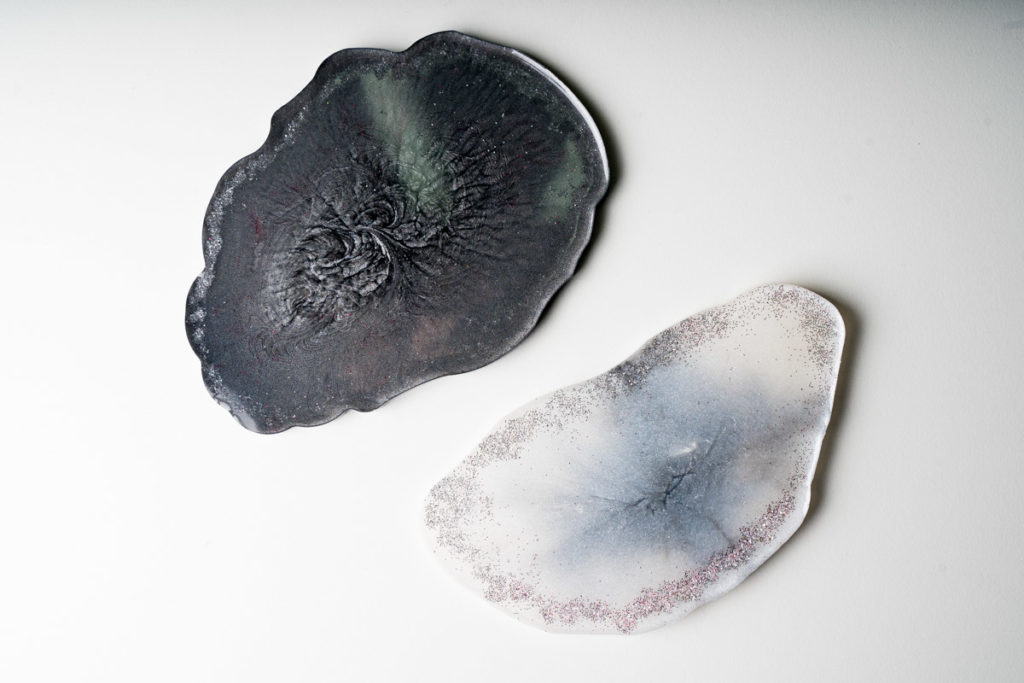
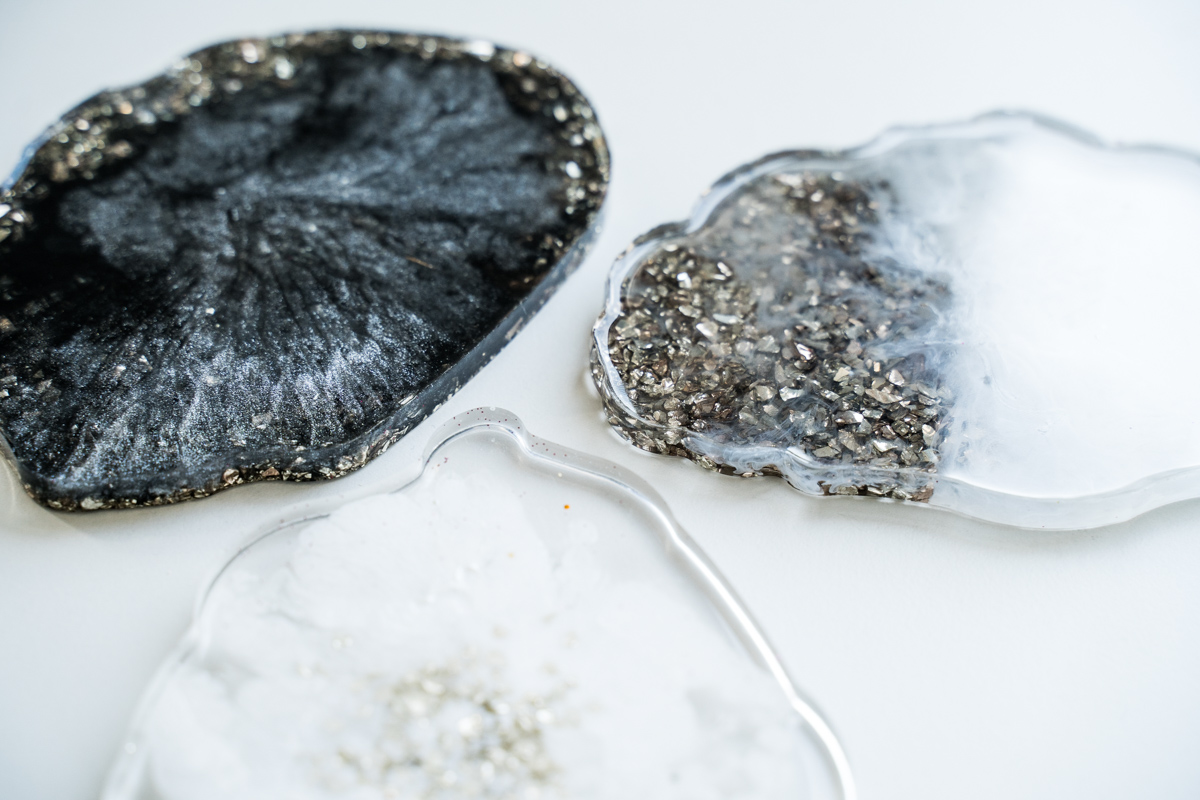
Finally, you can add glitter particles, scattered decoration or other beautiful ornaments. It is essential to apply these at the end, because small decorative elements sink when the viscosity is still too low.
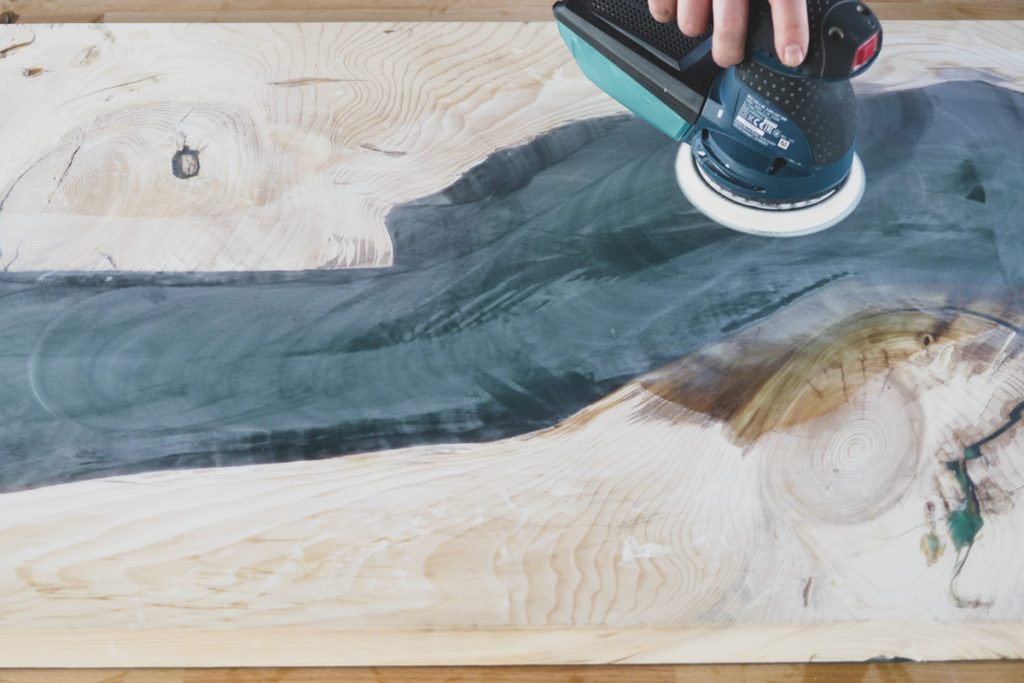
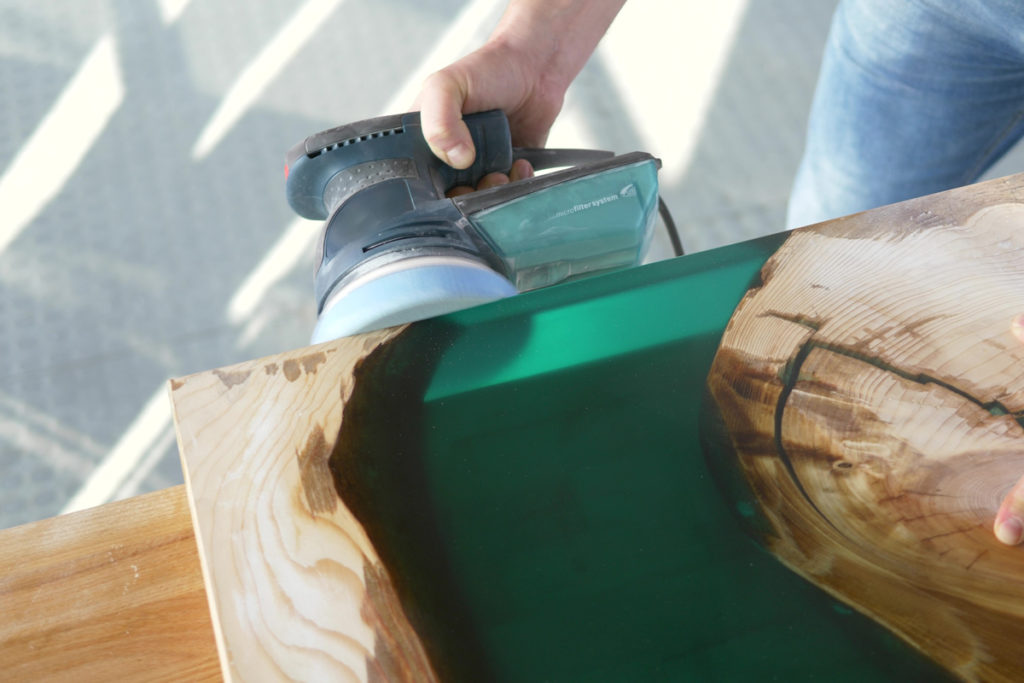
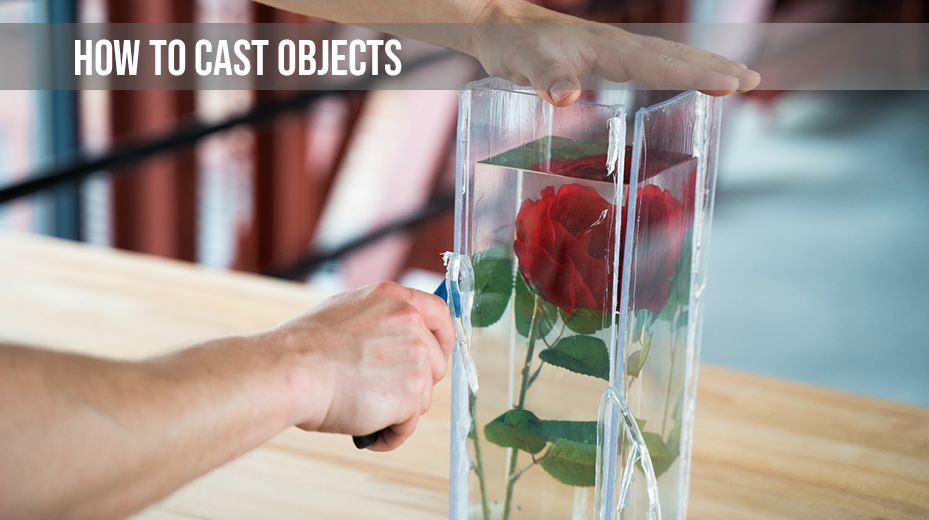
After a waiting period of 24 hours the geodes can be shaped. If you like, you can now use acrylic paint sticks to colour the edges of the geodes for finalizing.