Seamless epoxy resin floor
A jointless floor has many advantages and is easy to produce with epoxy resin. Until now, you may have known this type of floor coating from the industry, but now more and more people are opting for jointless floors in their homes. No wonder – a jointless floor creates timeless elegance and is easy to maintain. In this article we will explain when this floor covering is worthwhile for you, what you need for it and how you can implement it step-by-step yourself.
Seamless flooring: advantages and properties
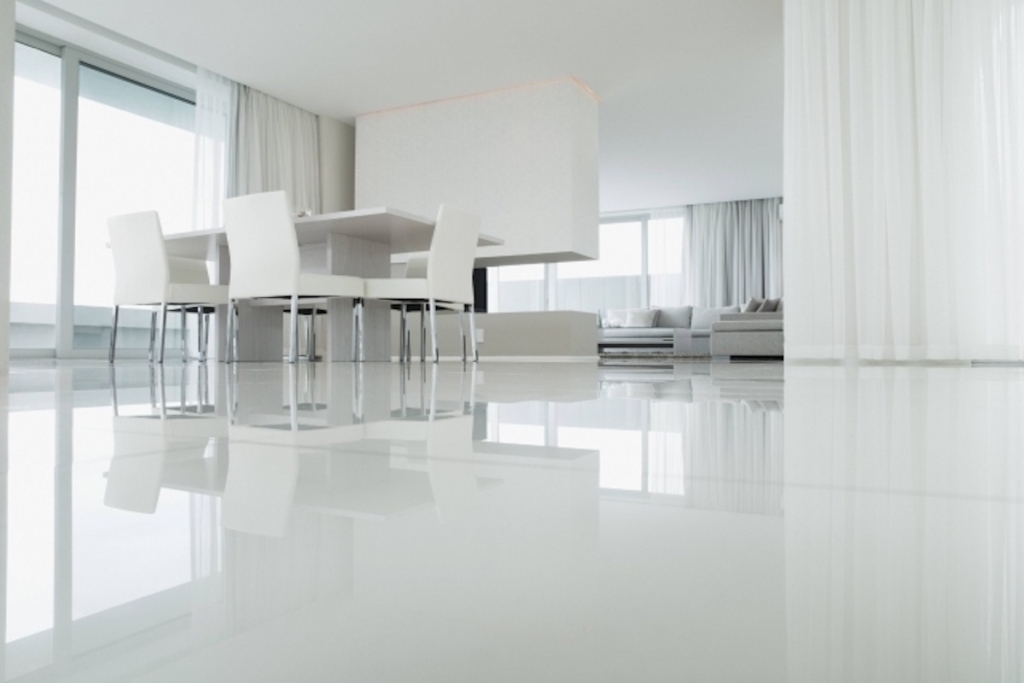
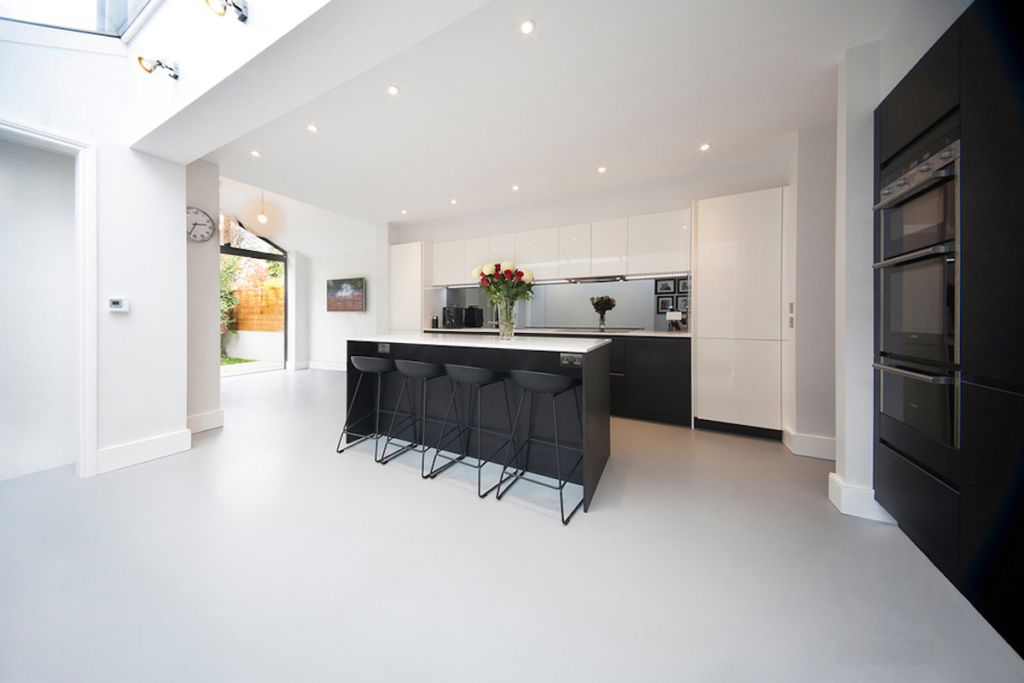
A floor that has no joints creates an even surface that makes the room look larger. This harmonious look creates a sense of calm and makes it look spacious. Your furniture, pictures and decoration can look even better. You can lay the jointless floor in one colour as well as in several colours or patterns. The resin can be dyed in any colour and can also be spiced up with metallic pigments, flakes or small decorative elements. If at some point you don’t like the colour anymore, you can simply apply a new layer of epoxy resin in a different colour on top of it.
A jointless synthetic resin floor is especially practical for families with children or pets. When you work with our epoxy resin, you can be sure that the new floor covering is free of adhesives, solvents and VOCs. This means that the cured floor is emission-free and not harmful to health. An epoxy resin floor can be cleaned thoroughly and hygienically and is also ultra robust against mechanical stress or leaking liquids.
Lay seamless epoxy resin floor
To make a jointless floor made of epoxy resin you need:
- EPODEX ECO epoxy resin (see quantity calculator)
- optional: colour pigments, flakes, quartz sand or similar
- fine dust mask
- masking tape
- spiked soles
- spiked ventilation roller
Step 1: Preparation of the substrate
Start by cleaning the floor. The subfloor must be dry and dust-free before installation. You should fill any unevenness, holes and cracks before you start priming. When you have finished the preparations, tape all edges of the floor with masking tape. It is best to wear nail soles during the application of the epoxy resin and all touch-up work to avoid leaving marks. We also recommend that you wear a breathing mask and old clothes or work clothes like a disposable overall.
Step 2: The primer
It is best to wear nail soles during processing and all touch ups to leave no marks, a breathing mask and old clothes or work clothes like a disposable overall.
To close all floor pores and reduce material loss, we recommend that you prime the floor with a thin layer of epoxy resin of 0.2-0.3cm. Mix together the required amount for the first thin layer and stir the two components slowly and thoroughly for about 3 minutes. Then spread the resin on the floor with the paint roller (4mm Floor). The best result is achieved by painting the floor crosswise, as this closes all the pores in the floor. Work quickly, taking into account the pot life. Allow the primer to harden completely before applying the main coating.
Step 3: The coating
When the curing time is over, you can mix the epoxy resin for the main coating. If you have chosen a RAL colour, the resin will come to you already coloured. The metallic colours are supplied as pigment powder in sachets. The contents of the bag are then mixed into the resin-hardener mixture. You can determine the amount of resin and thus influence the colour intensity of the result. Mix all the components together again thoroughly for 3 minutes. Now you can pour the resin onto the primed floor. Then spread it with a paint roller or squeegee. For pre-coating we recommend a layer thickness of 1.5 mm. At room temperatures below 15°C you should now go over the freshly poured resin again with a spiked deaerator. This will prevent the resin from poorly deaerating and prevent bubbles from forming. Let the layer harden.
If you want to cover your floor with quartz sand, synthetic fibres or flakes, continue with this layer. Mix the silica sand or fibres into the resin according to the exact quantity and then spread it over the floor with a squeegee. If you are using flakes, spread them on the damp pre-coating, wait for the curing time to elapse and then apply another layer of epoxy resin.
Step 4: Remove masking material
Now remove all adhesive tapes after processing. Leave the freshly poured floor with nail soles to leave no marks. Then let the floor coating harden completely before the floor is loaded again.